- receiver Rx43d-1
- geared motor G324M660P (kkpmo)
- miro servo S18JST
- lipo 1s 180mAh
- micro SMD switch
- micro socket for charging and for trailer connection
- 32 LEDs 0603
This model was fun to build although the lights were a bit of a pain due to the lack of space here and there and the fight against light bleeding. The model has quite enough space in the cabin at the top to fit there the Lipo and receiver. There was a problem with the PCB, it was a little problematic to find a place for the PCB with resistors, but this model has a little more space behind the grill so eventually the PCB got fixed there. When the model was finished, it turned out, in line with my concerns, that the front end is too heavy in relation to the rear and it doesn’t want to accelerate on slippery surfaces. The problem was solved by the load of the rear with lead castings that matched the empty spaces on the back of the model. The lead was then painted to minimize skin contact. The model still doesn’t drive perfectly on slippery surfaces, but when it is a bit rough, it performs well.
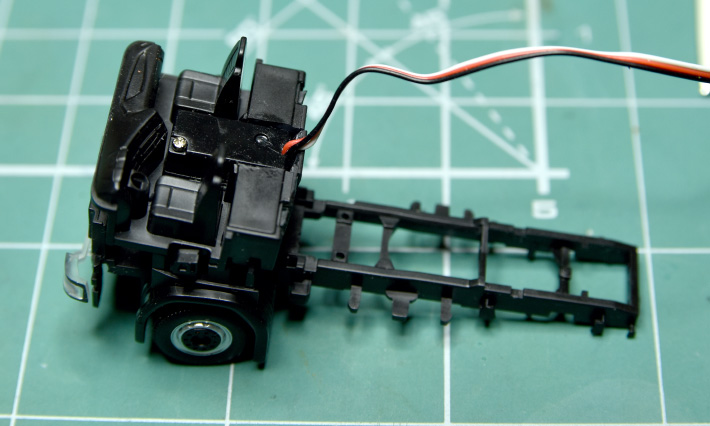
Servo fitting 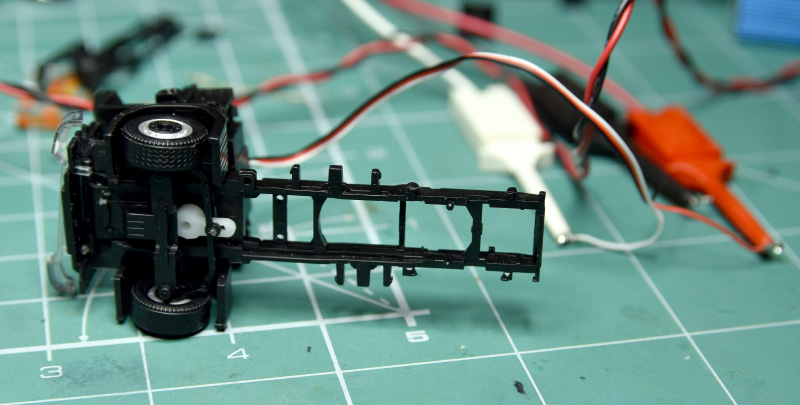
Servo fitting 
Charging port preparation 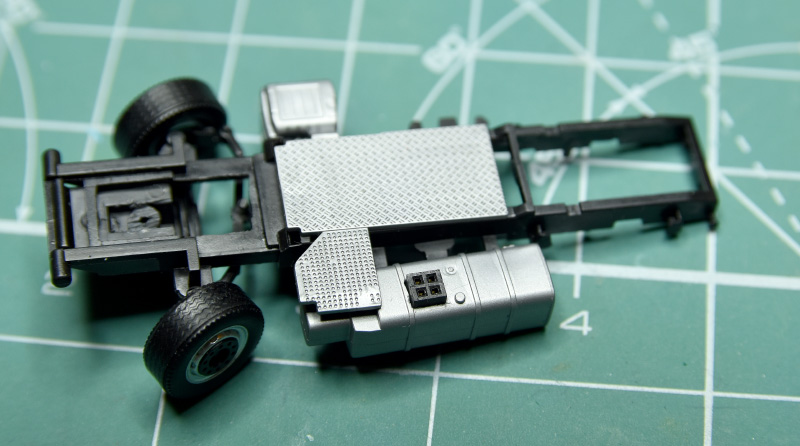
Charging port preparation 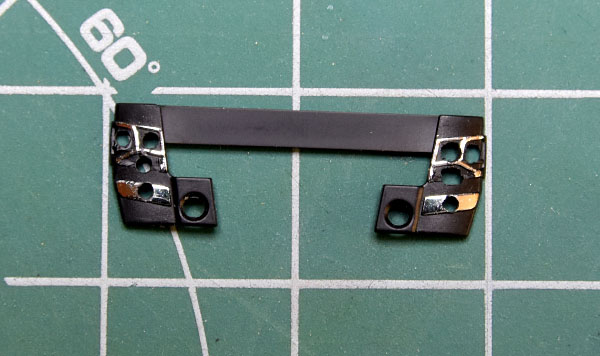
Holes for front lights drilled 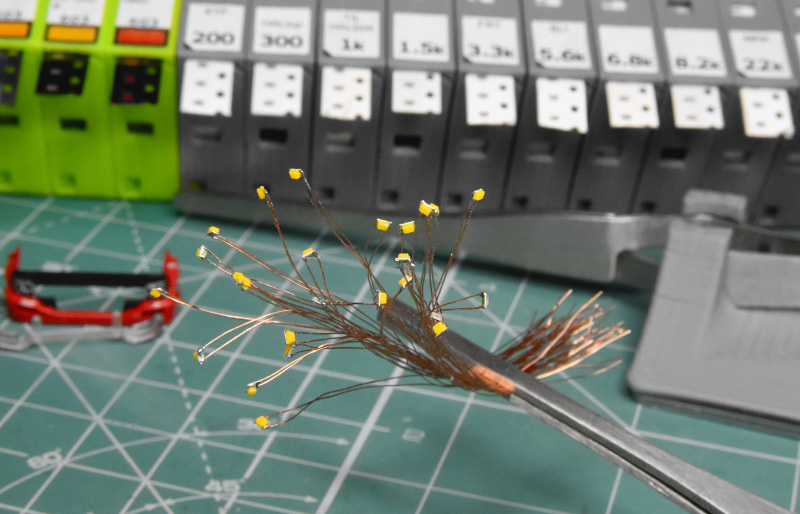
All white LEDs soldered to the wires 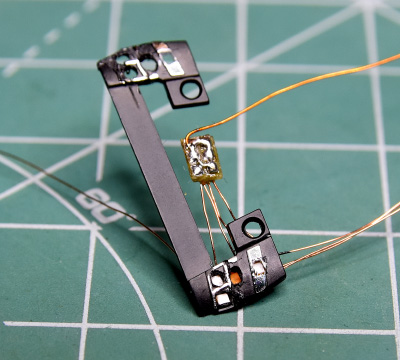
LEDs nicely glued to the front panel 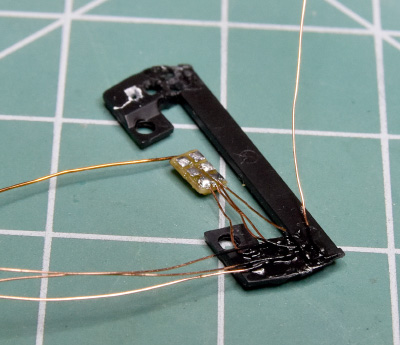
LEDs nicely glued to the front panel 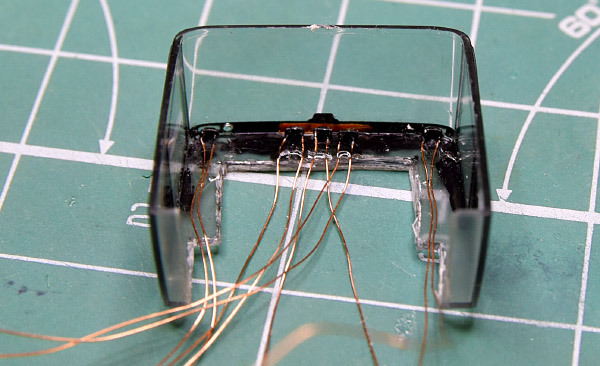
Top marker lights preparation 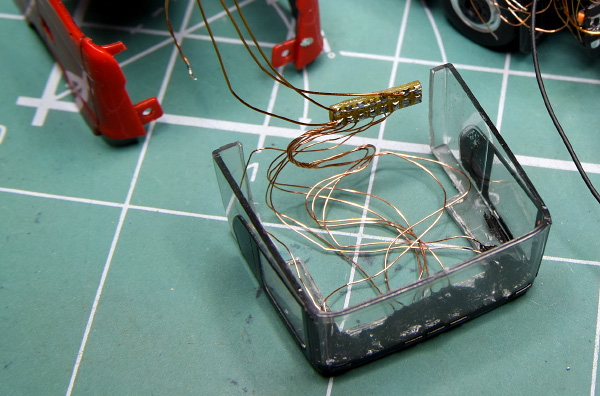
Top marker lights preparation 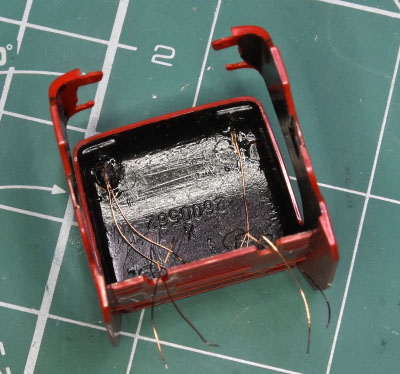
Top special lights with glued LEDs 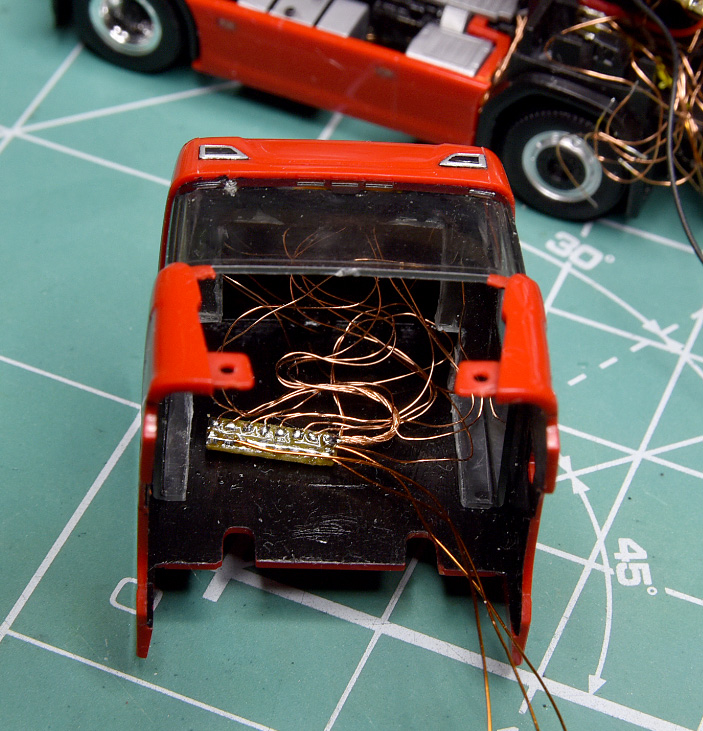
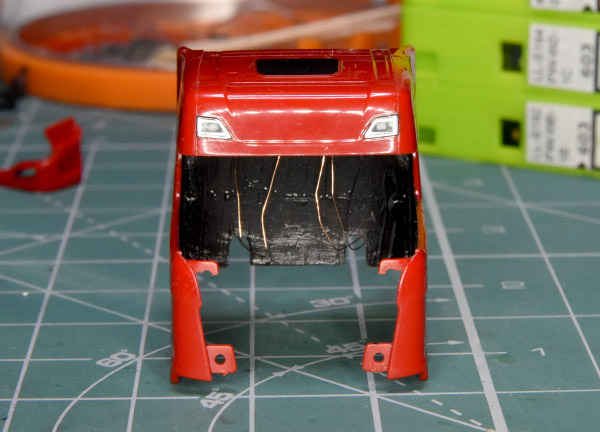
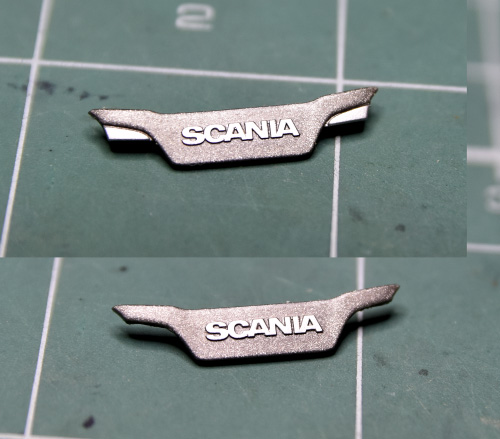
Fake lights removed 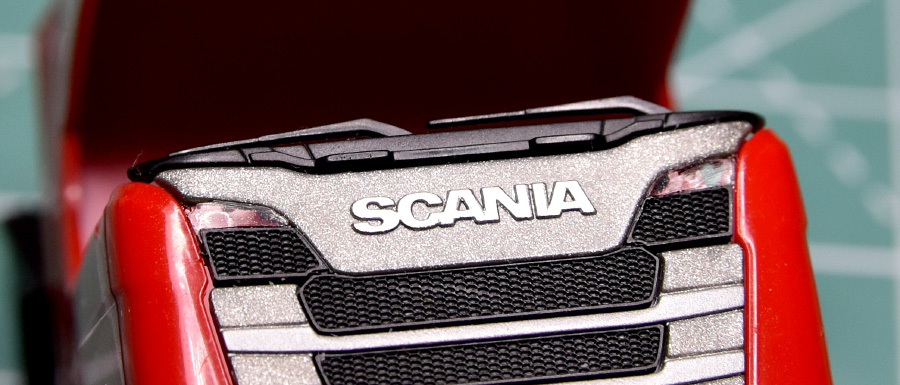
The remaining holes were filled with transparent glue 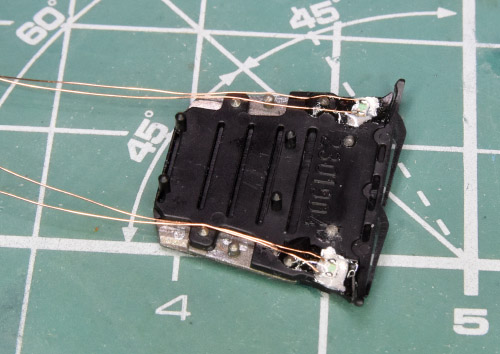
White LEDs were glued to that new lamps and covered with paint to prevent light leaks 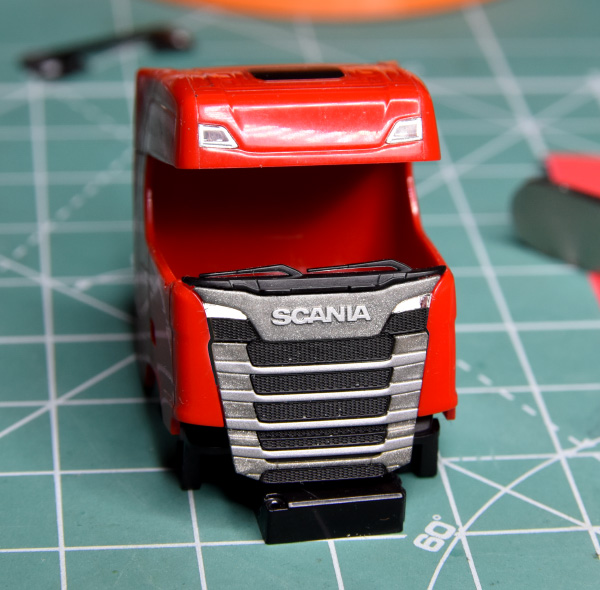
Test of these lamps. 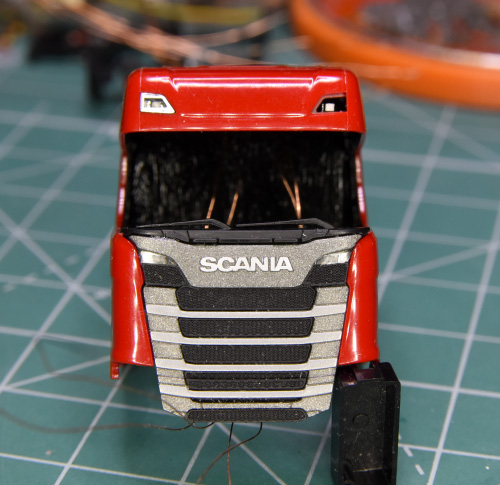
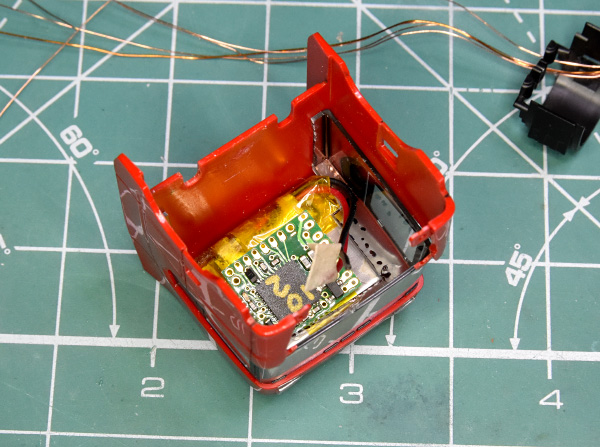
Tight fit of the LiPo and Rx 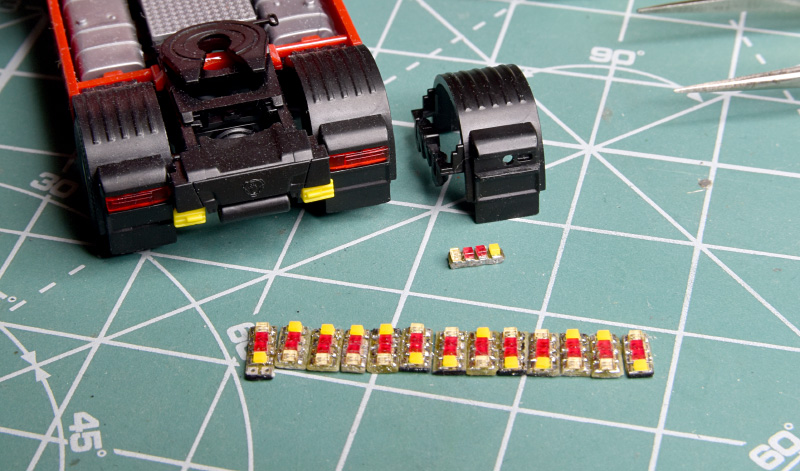
Future models will receive some of these panels 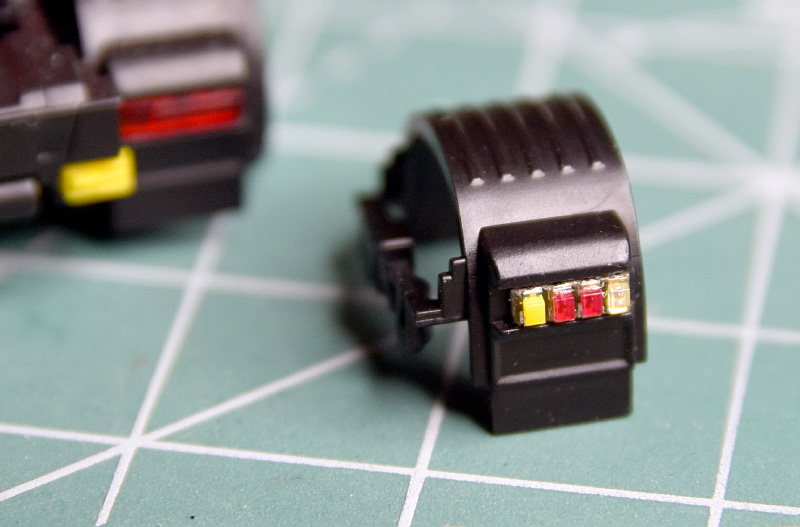
LEDs panel fits the original lights’ slots 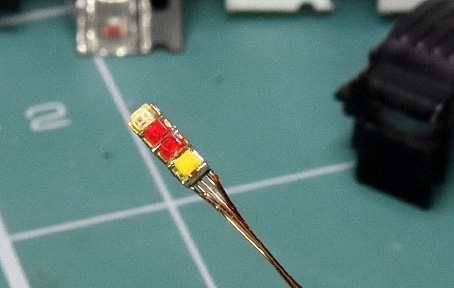
Tail lights narrow panel… 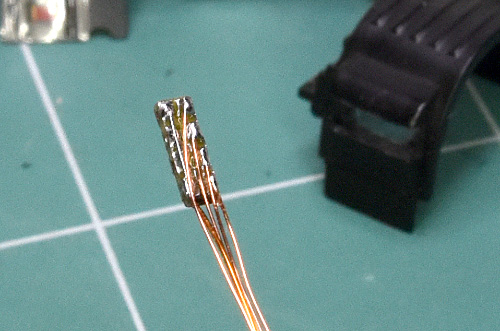
…with soldered wires 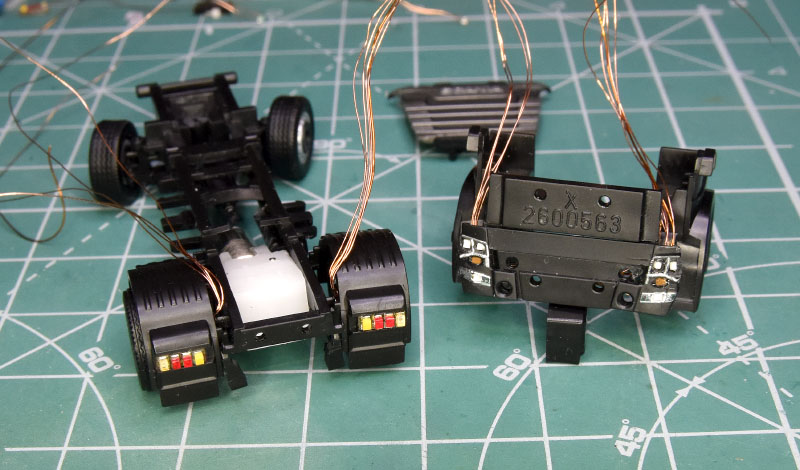
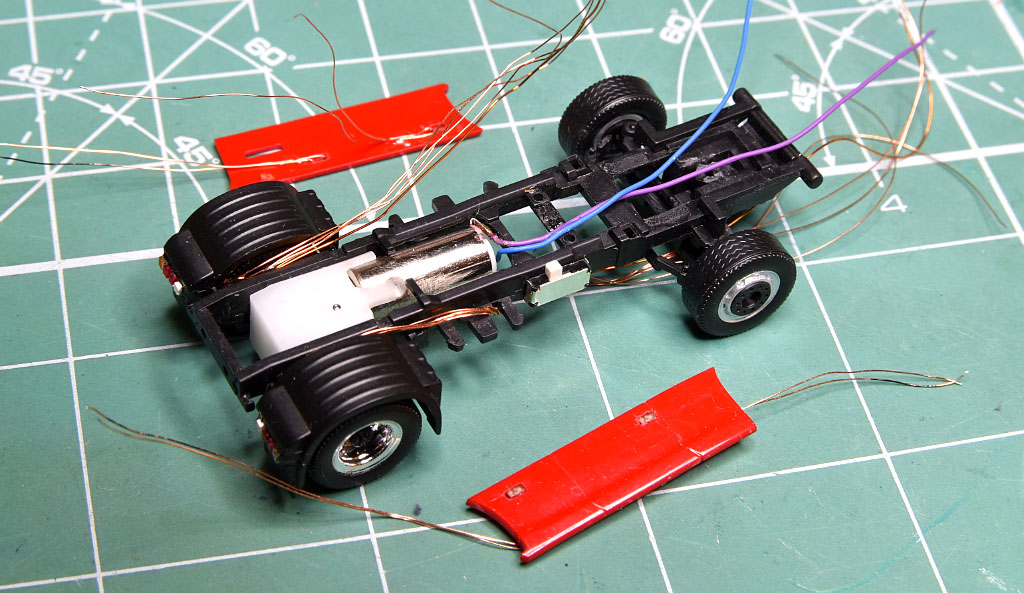
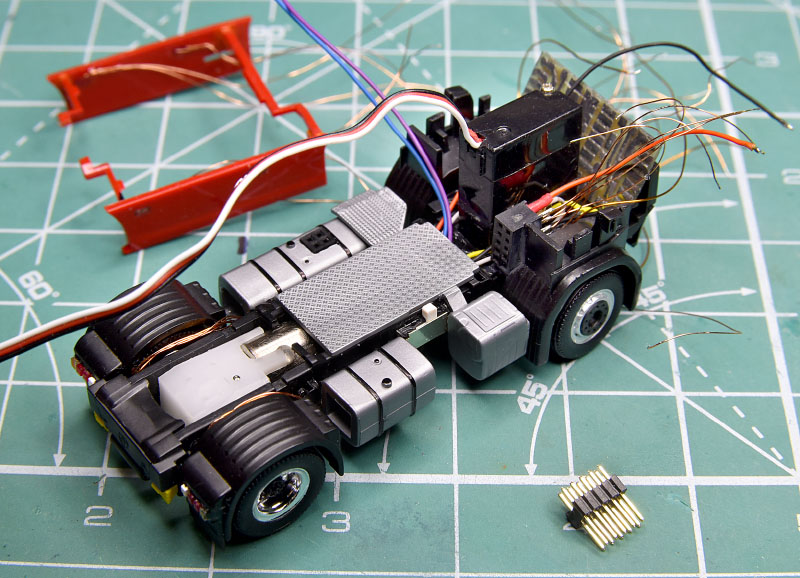
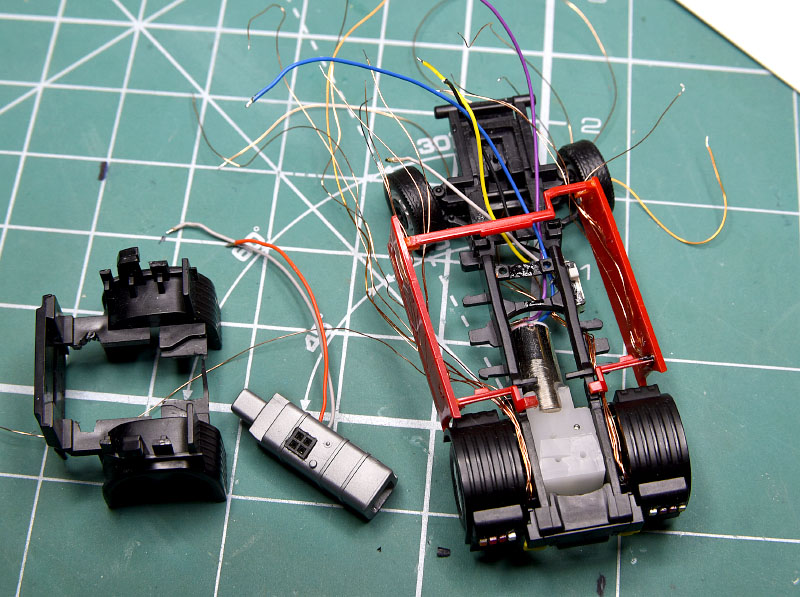
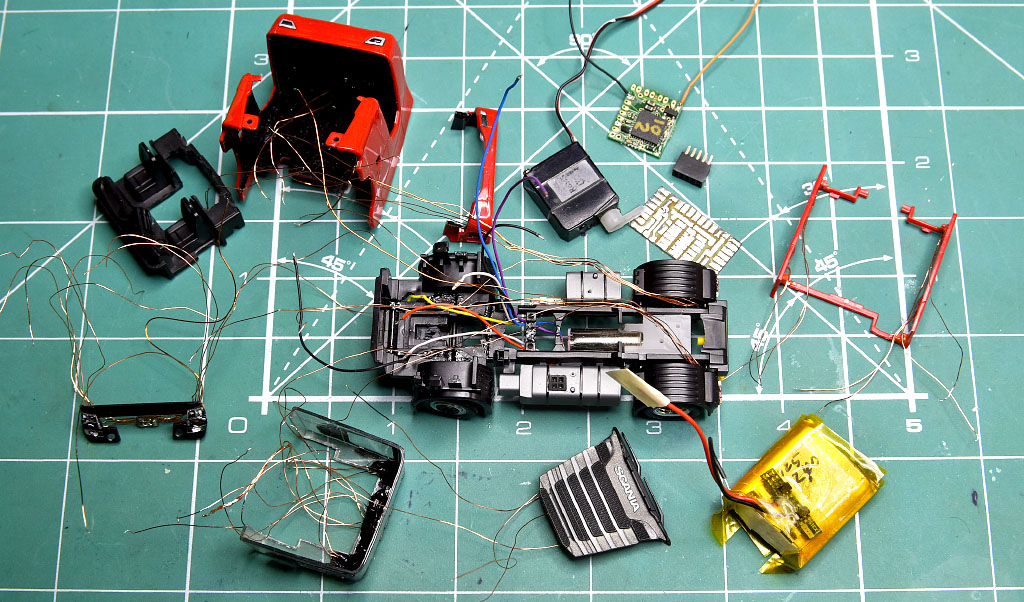
All elements in place ready for final assembly 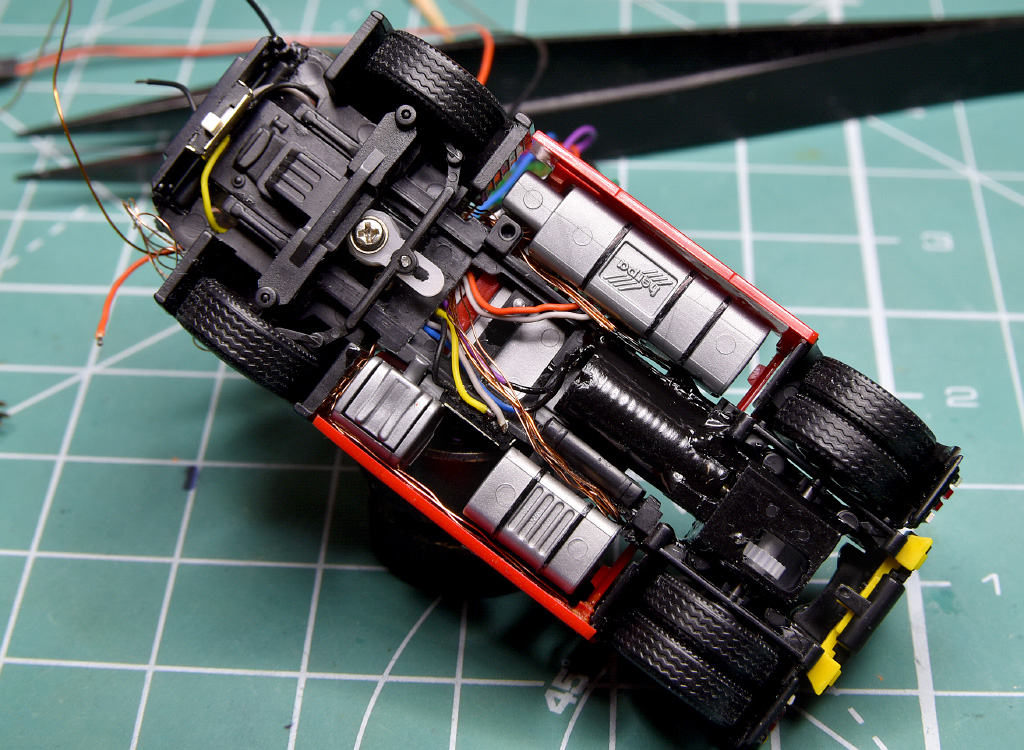
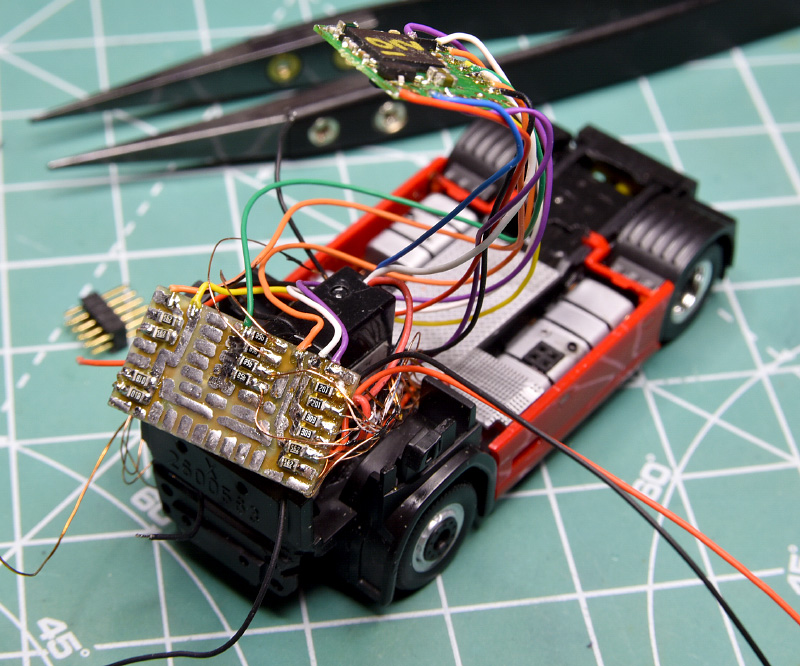
PCB with LEDs’ resistors 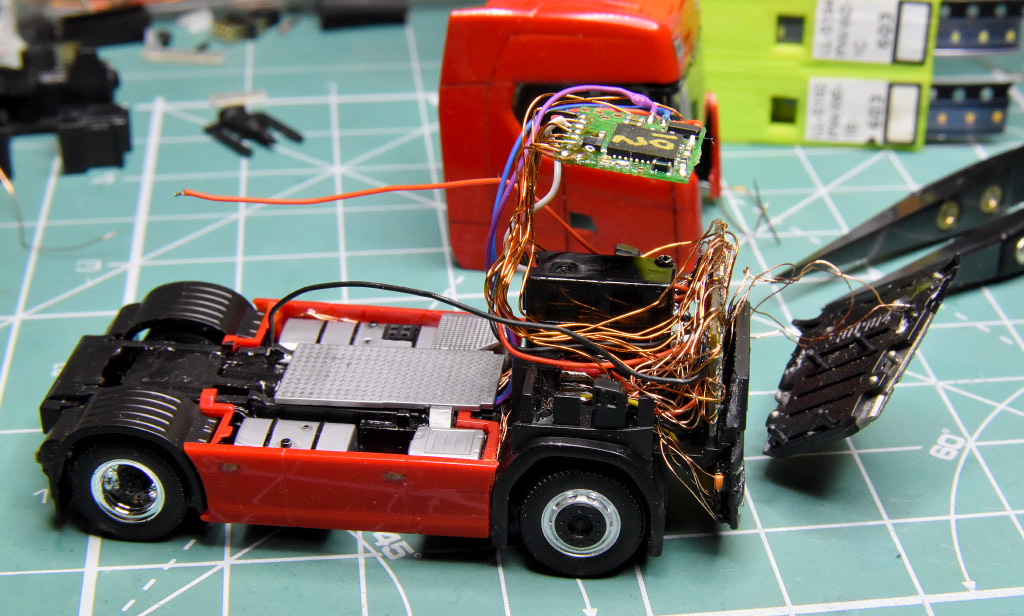
Final assembly 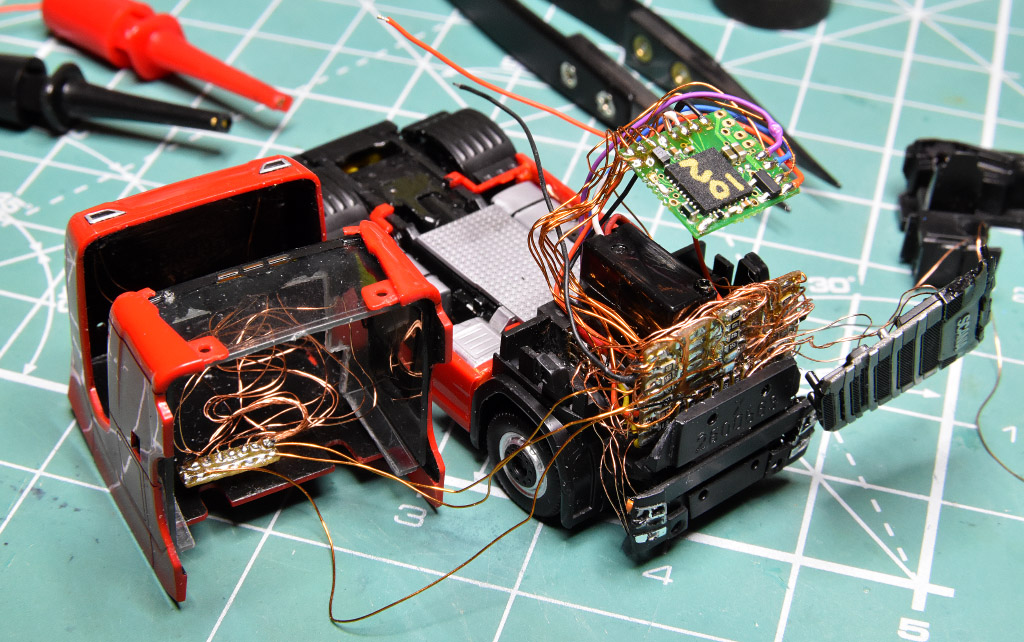
Final assembly 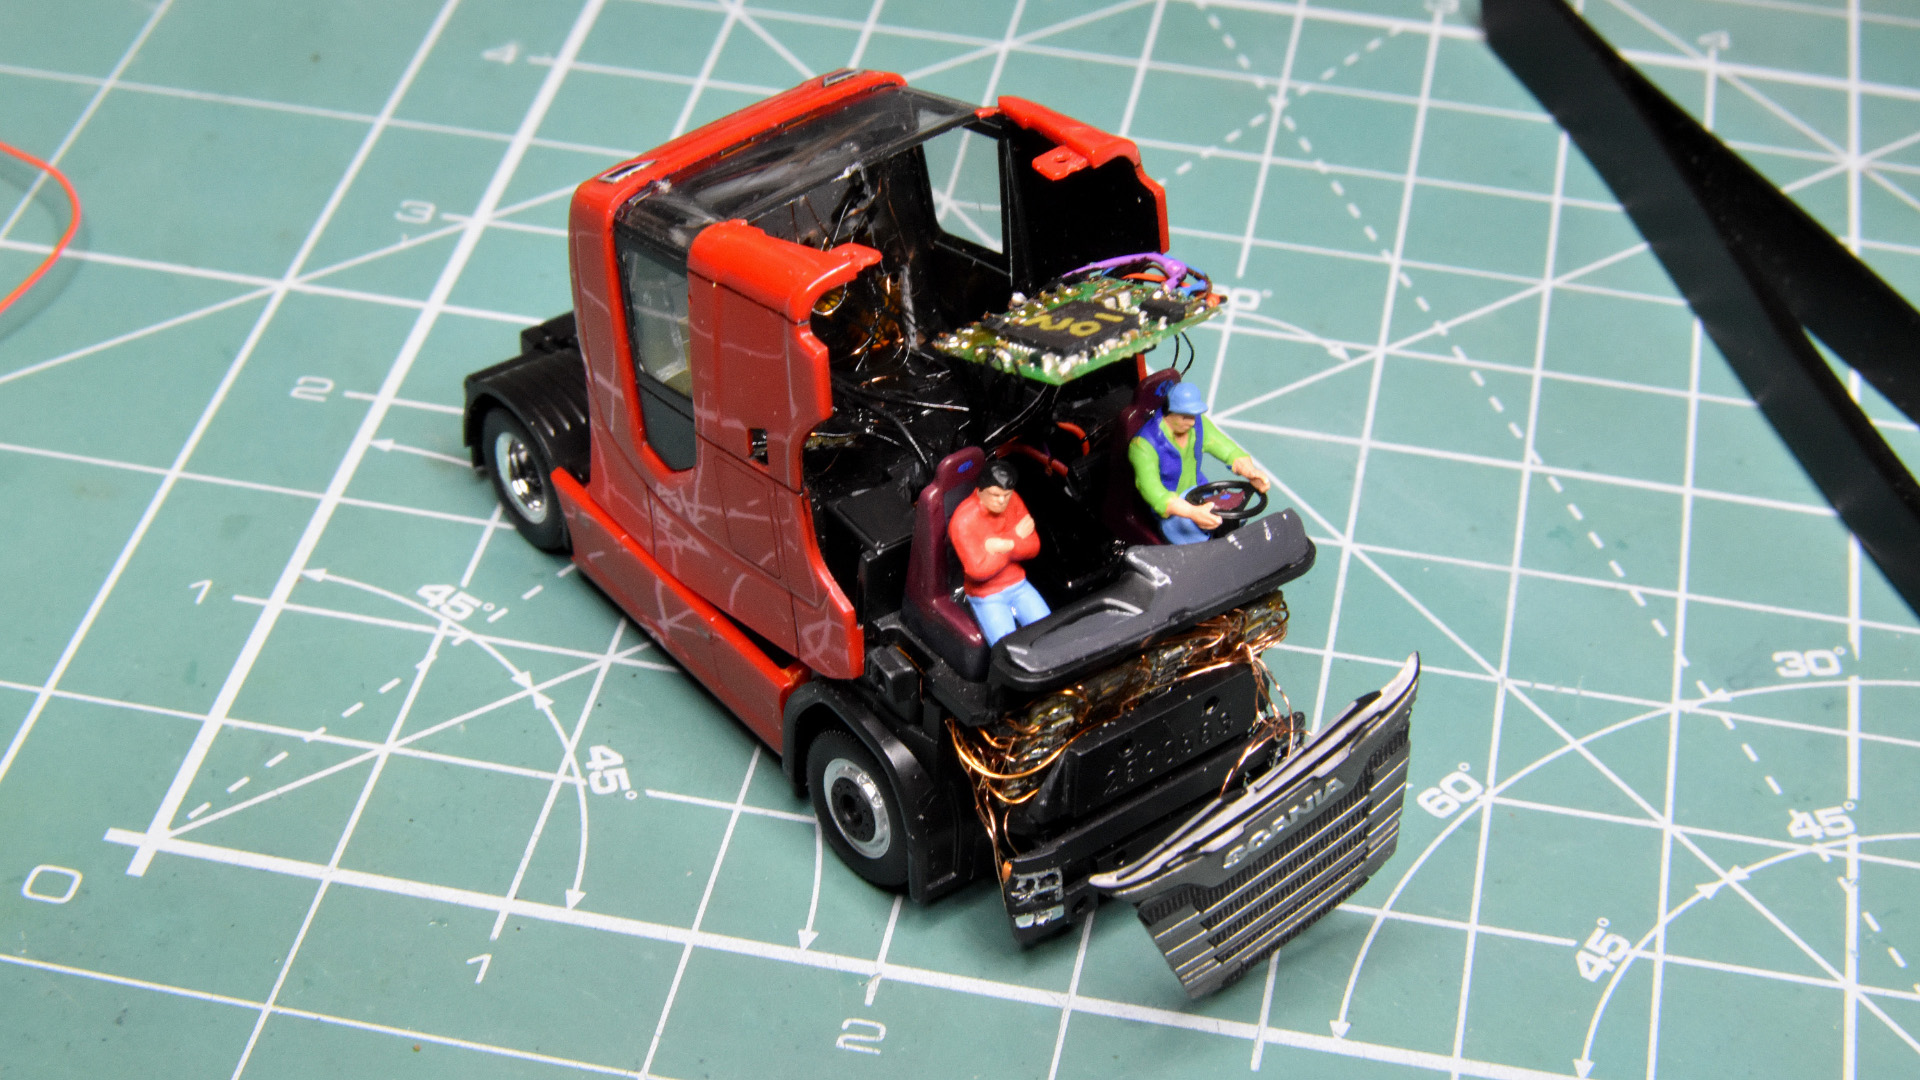
Final assembly 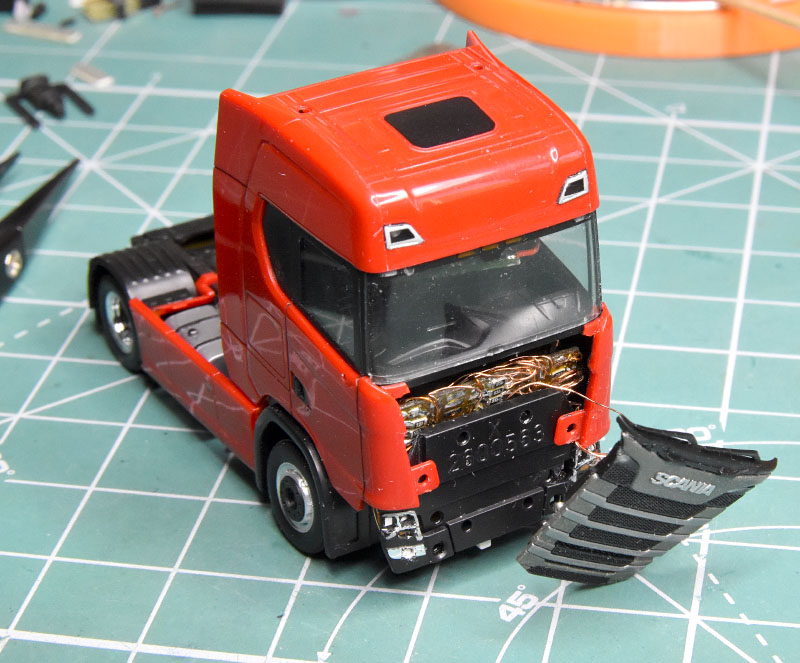
Final assembly 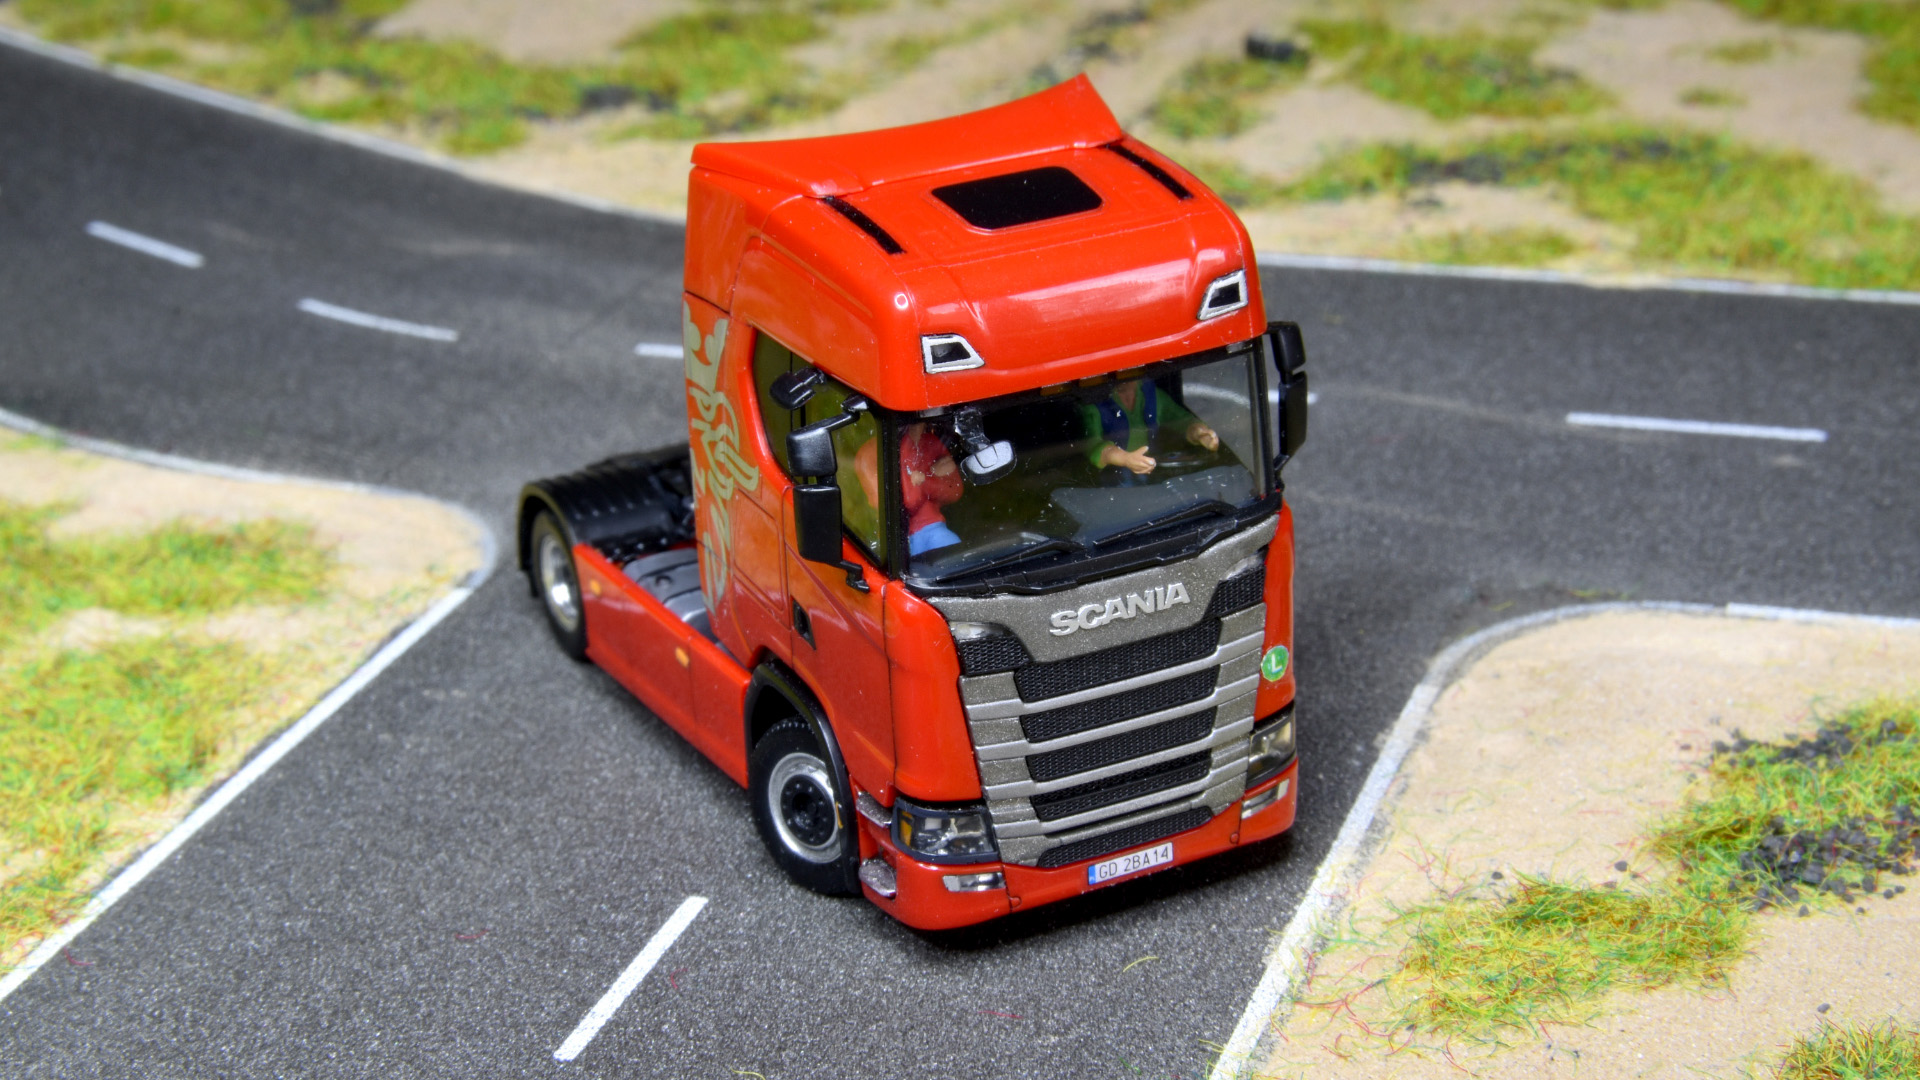
Truck is ready 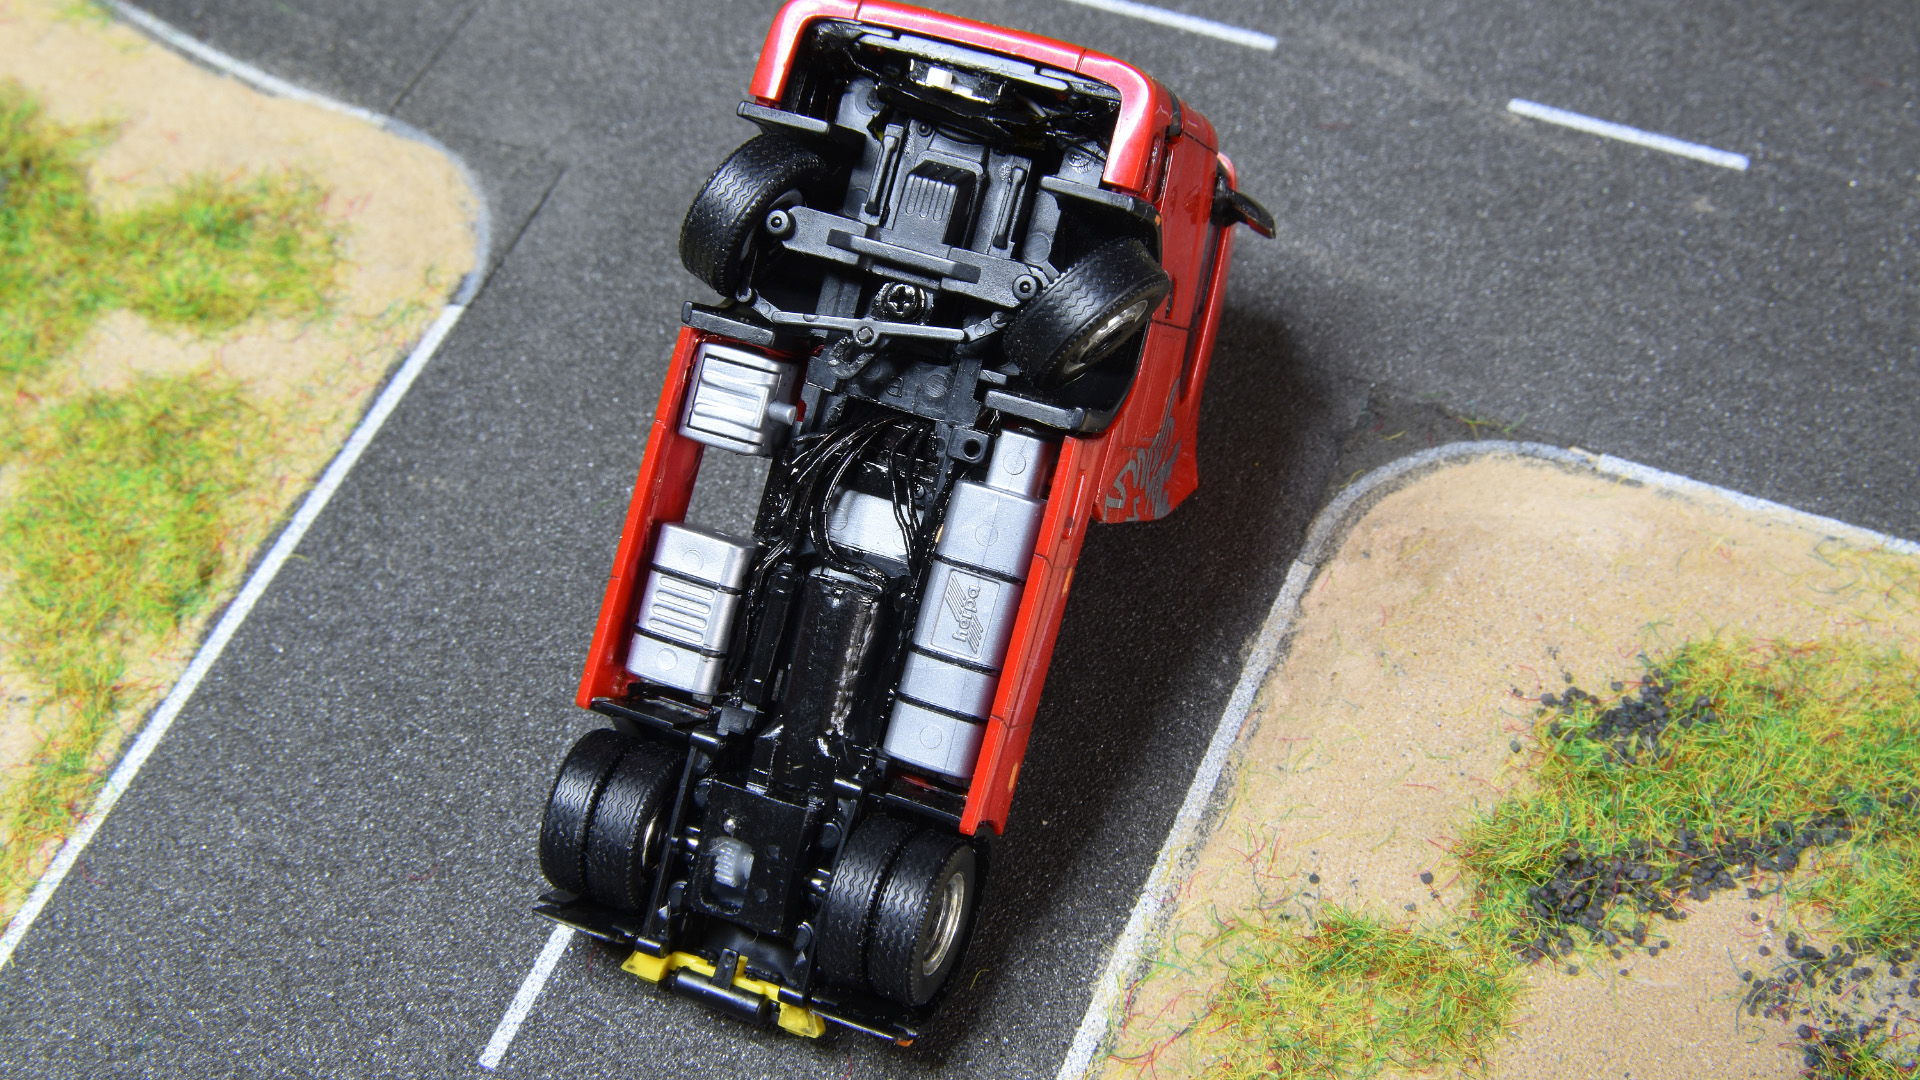
Finished bottom, but without the extra weight yet. 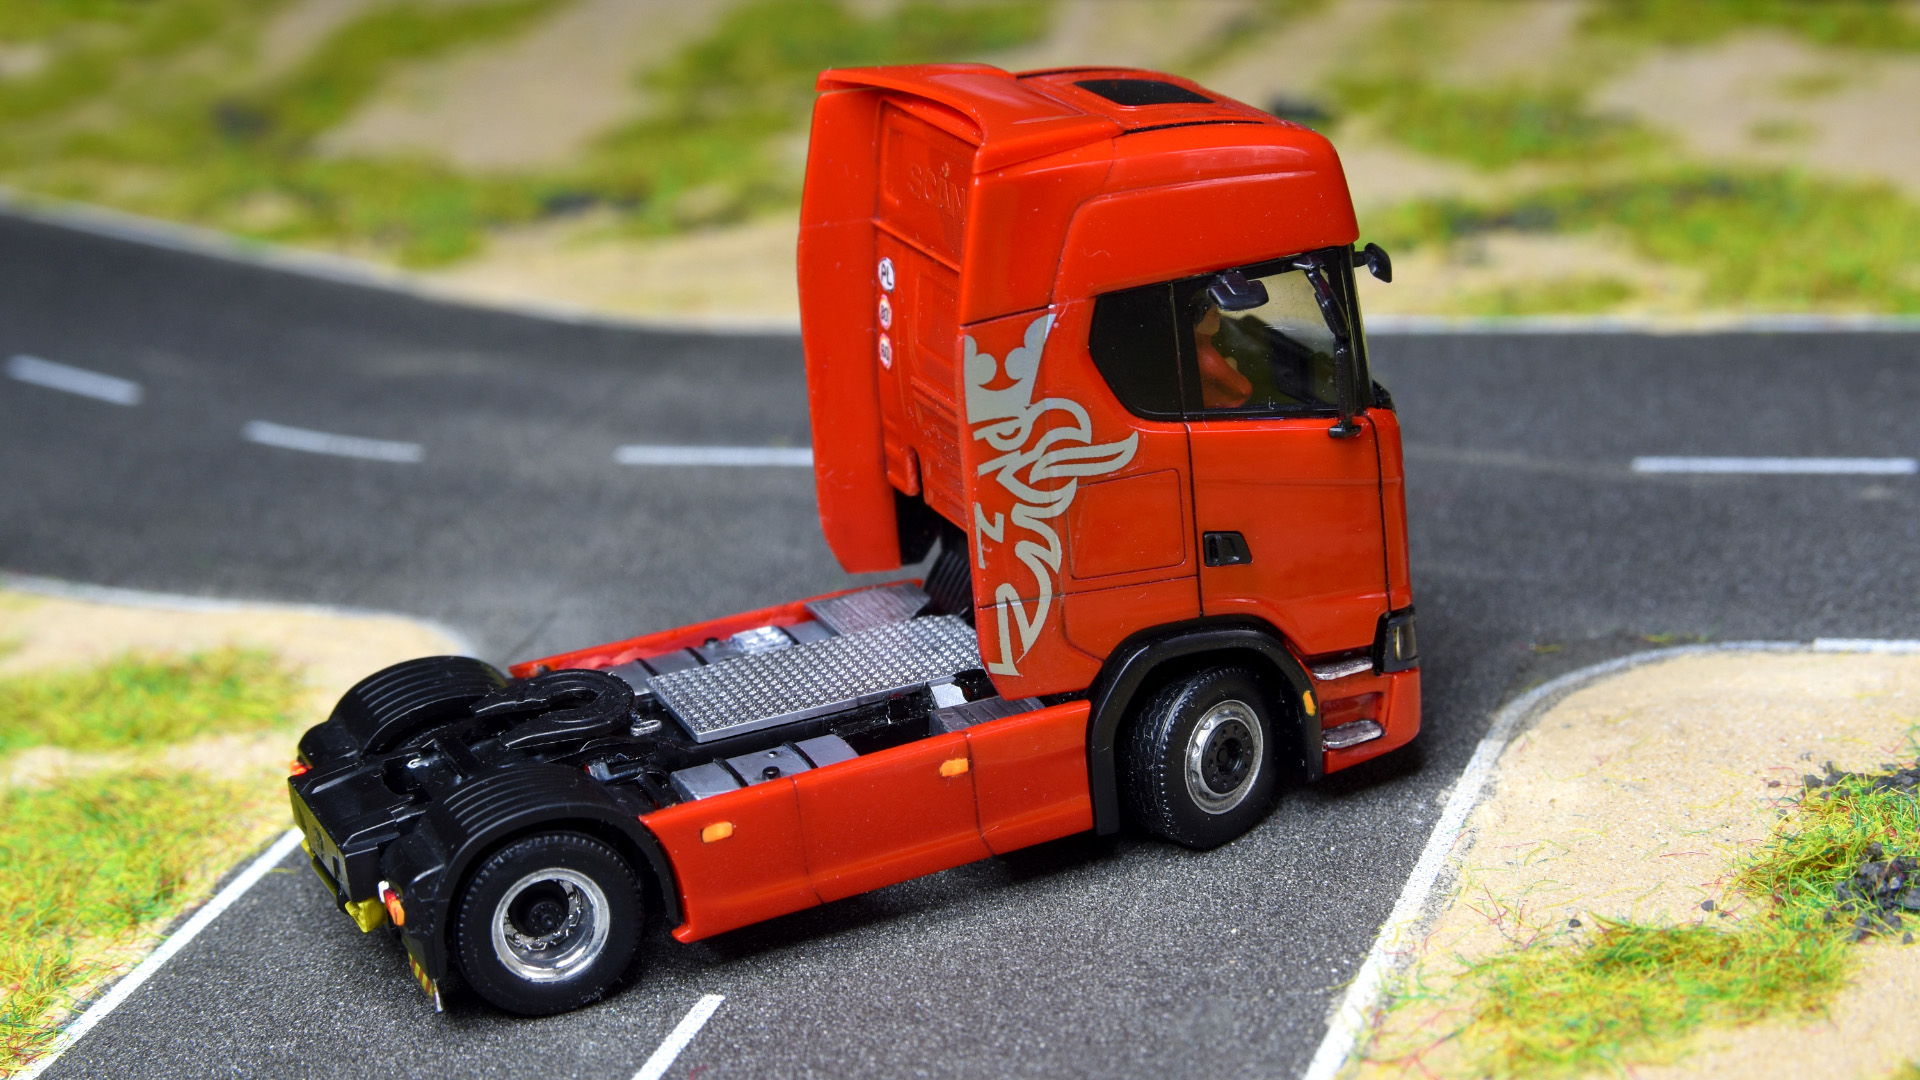
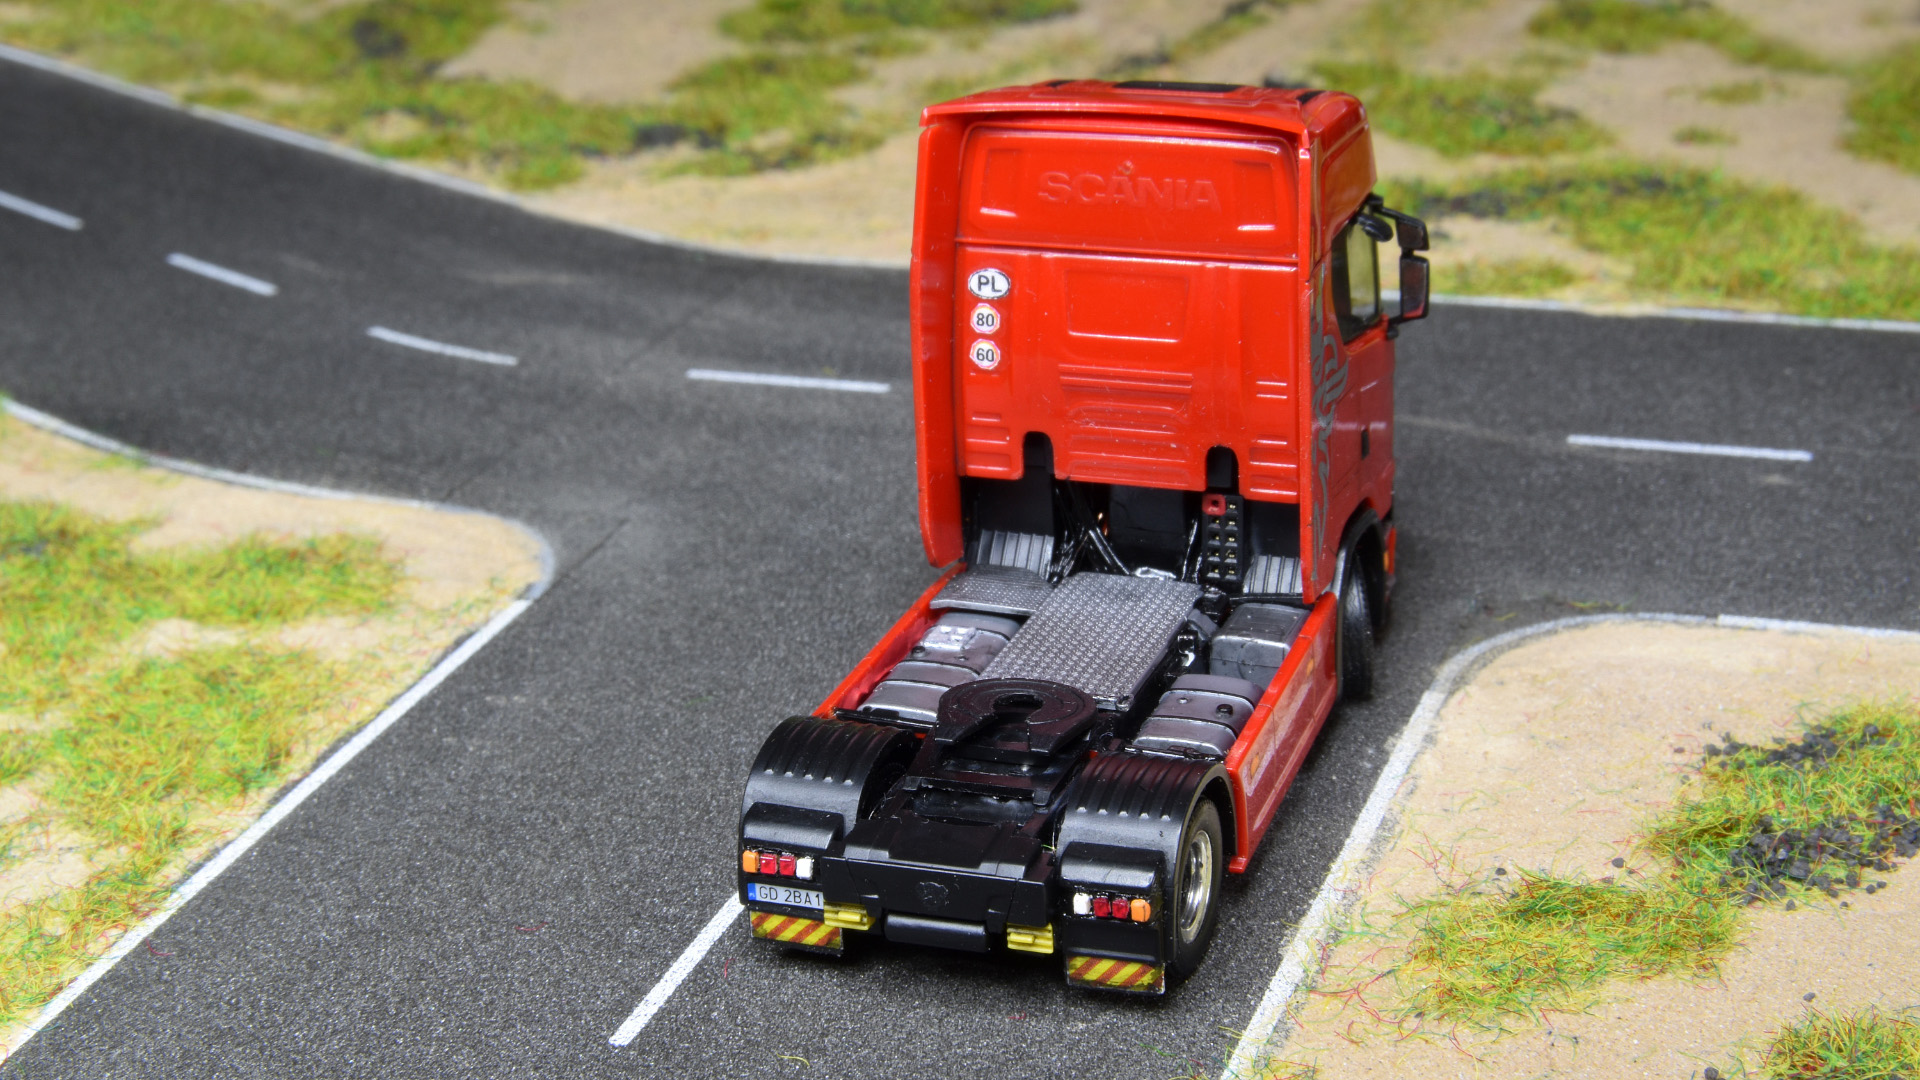
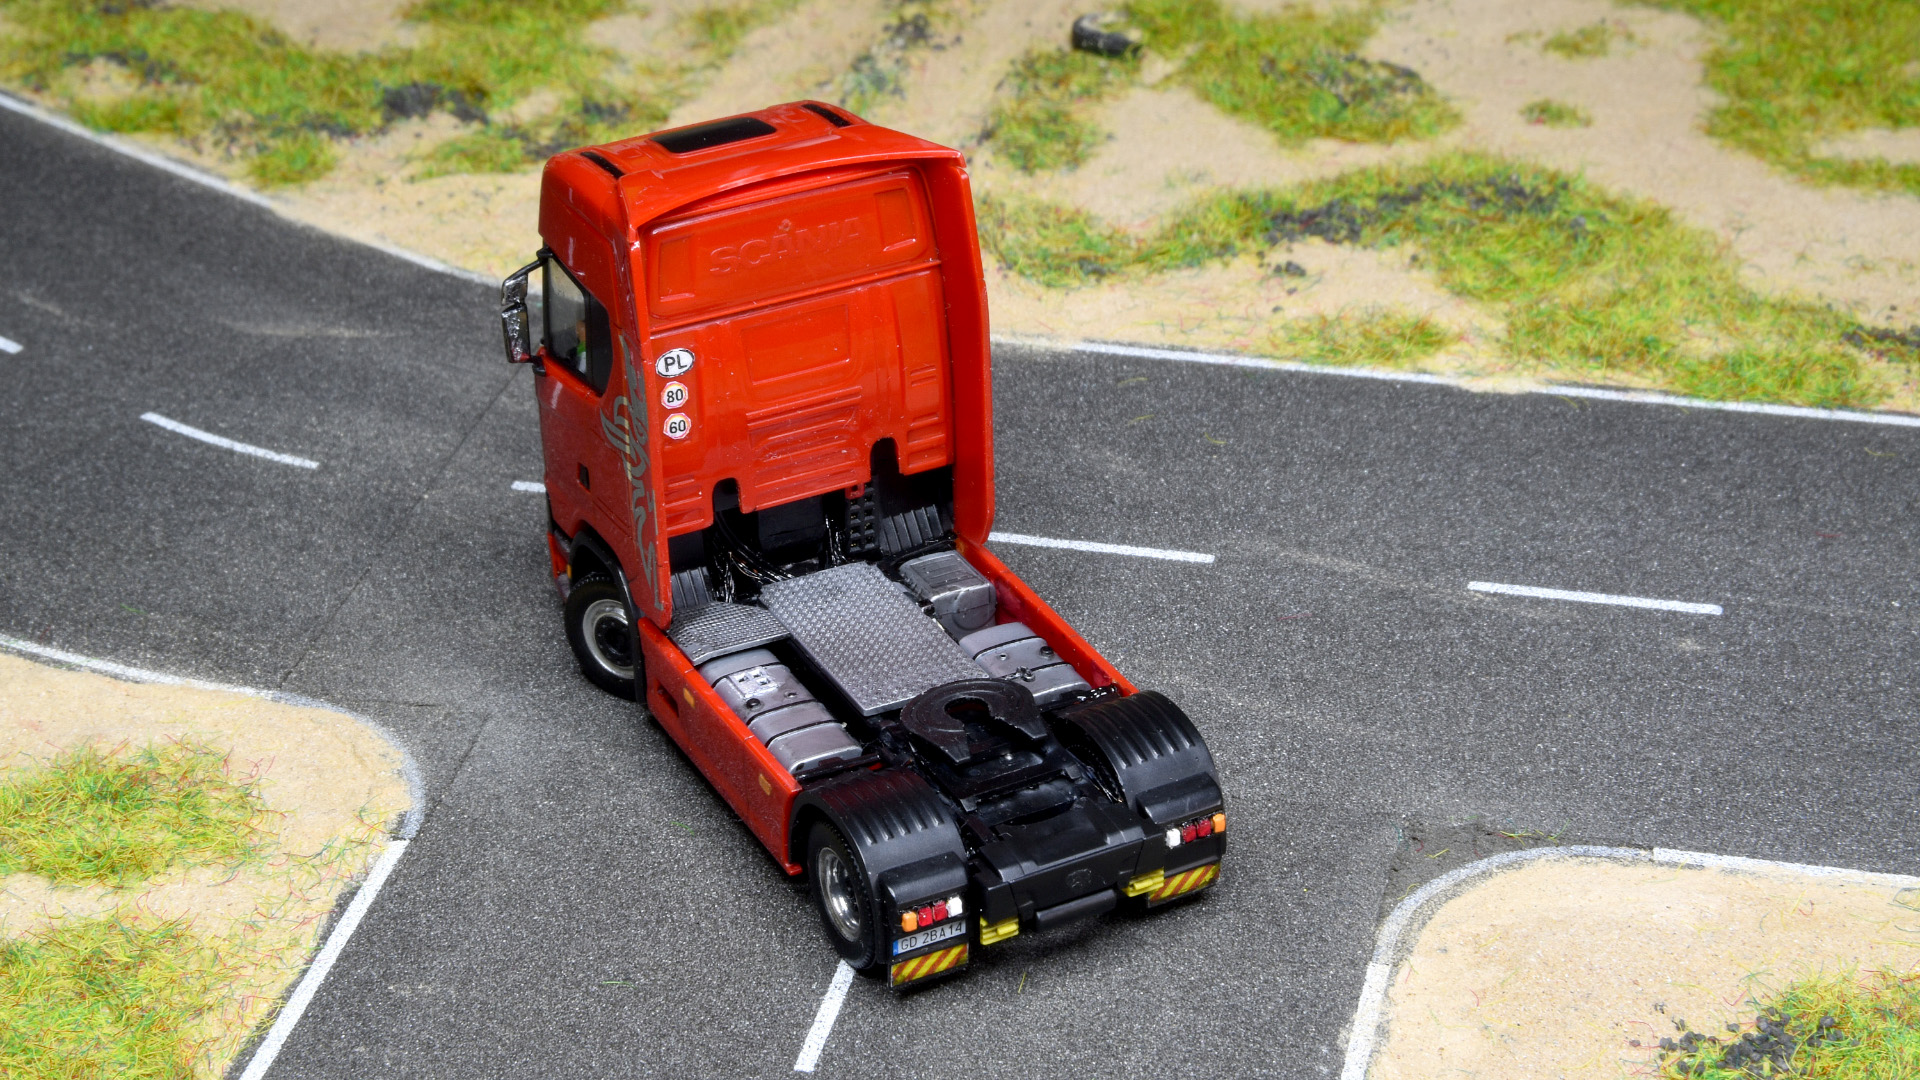
The model received a very delicate weathering 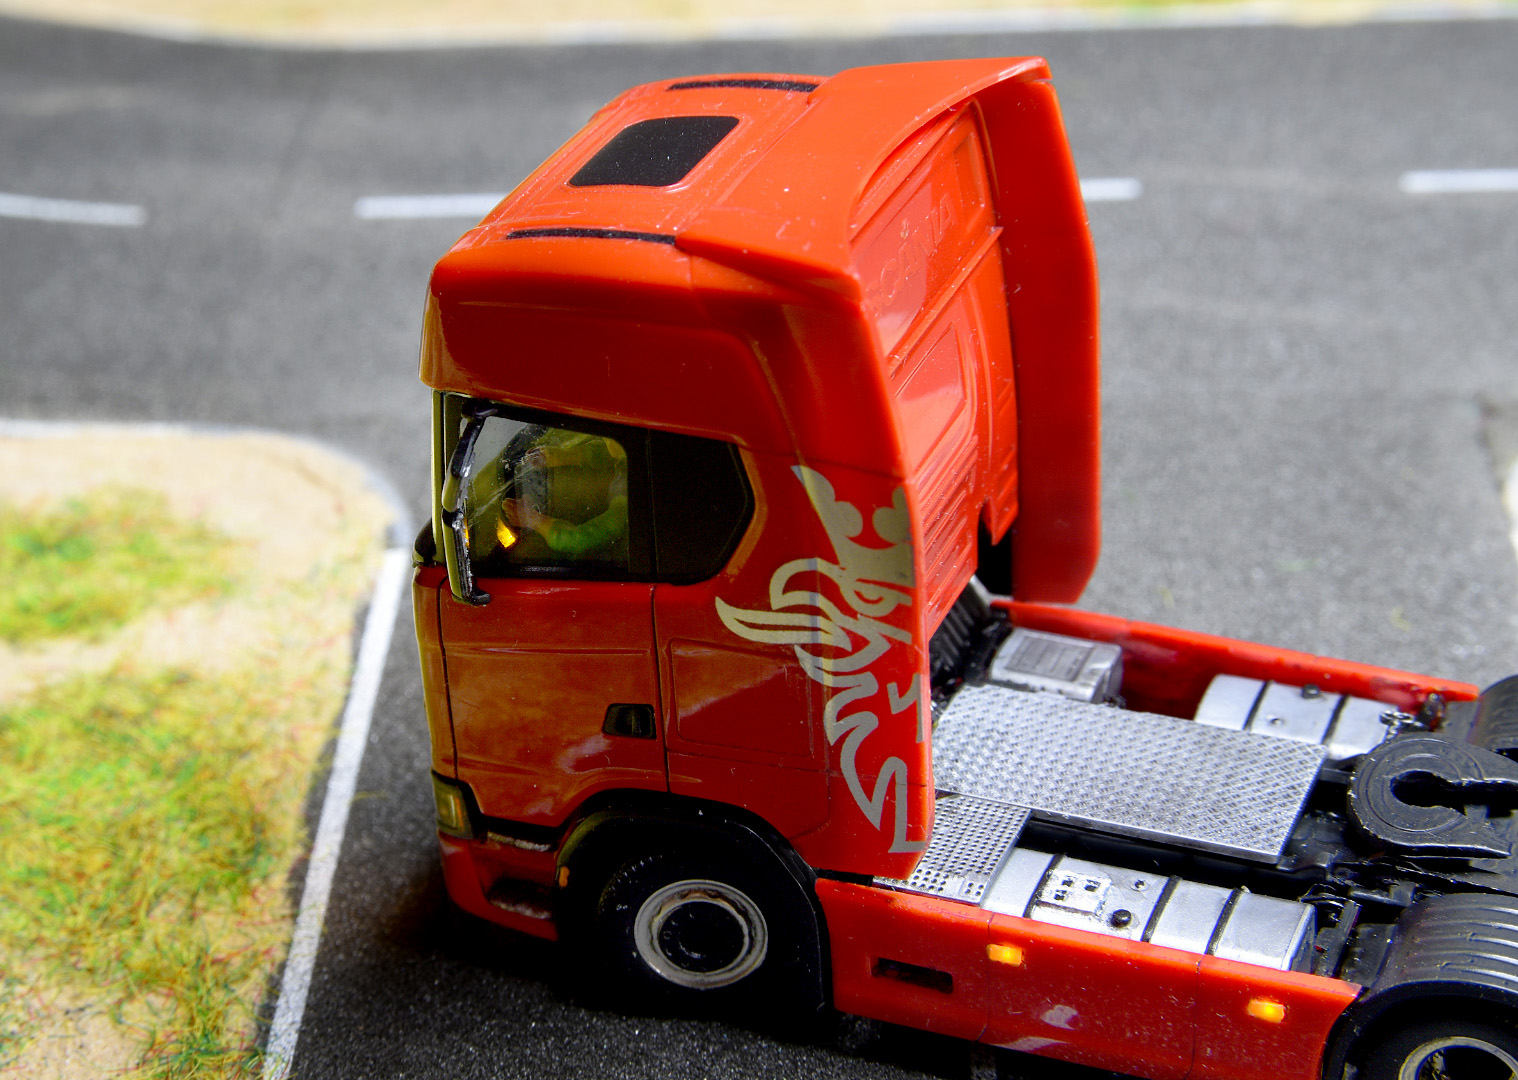
The receiver status LED was mounted on the dashboard 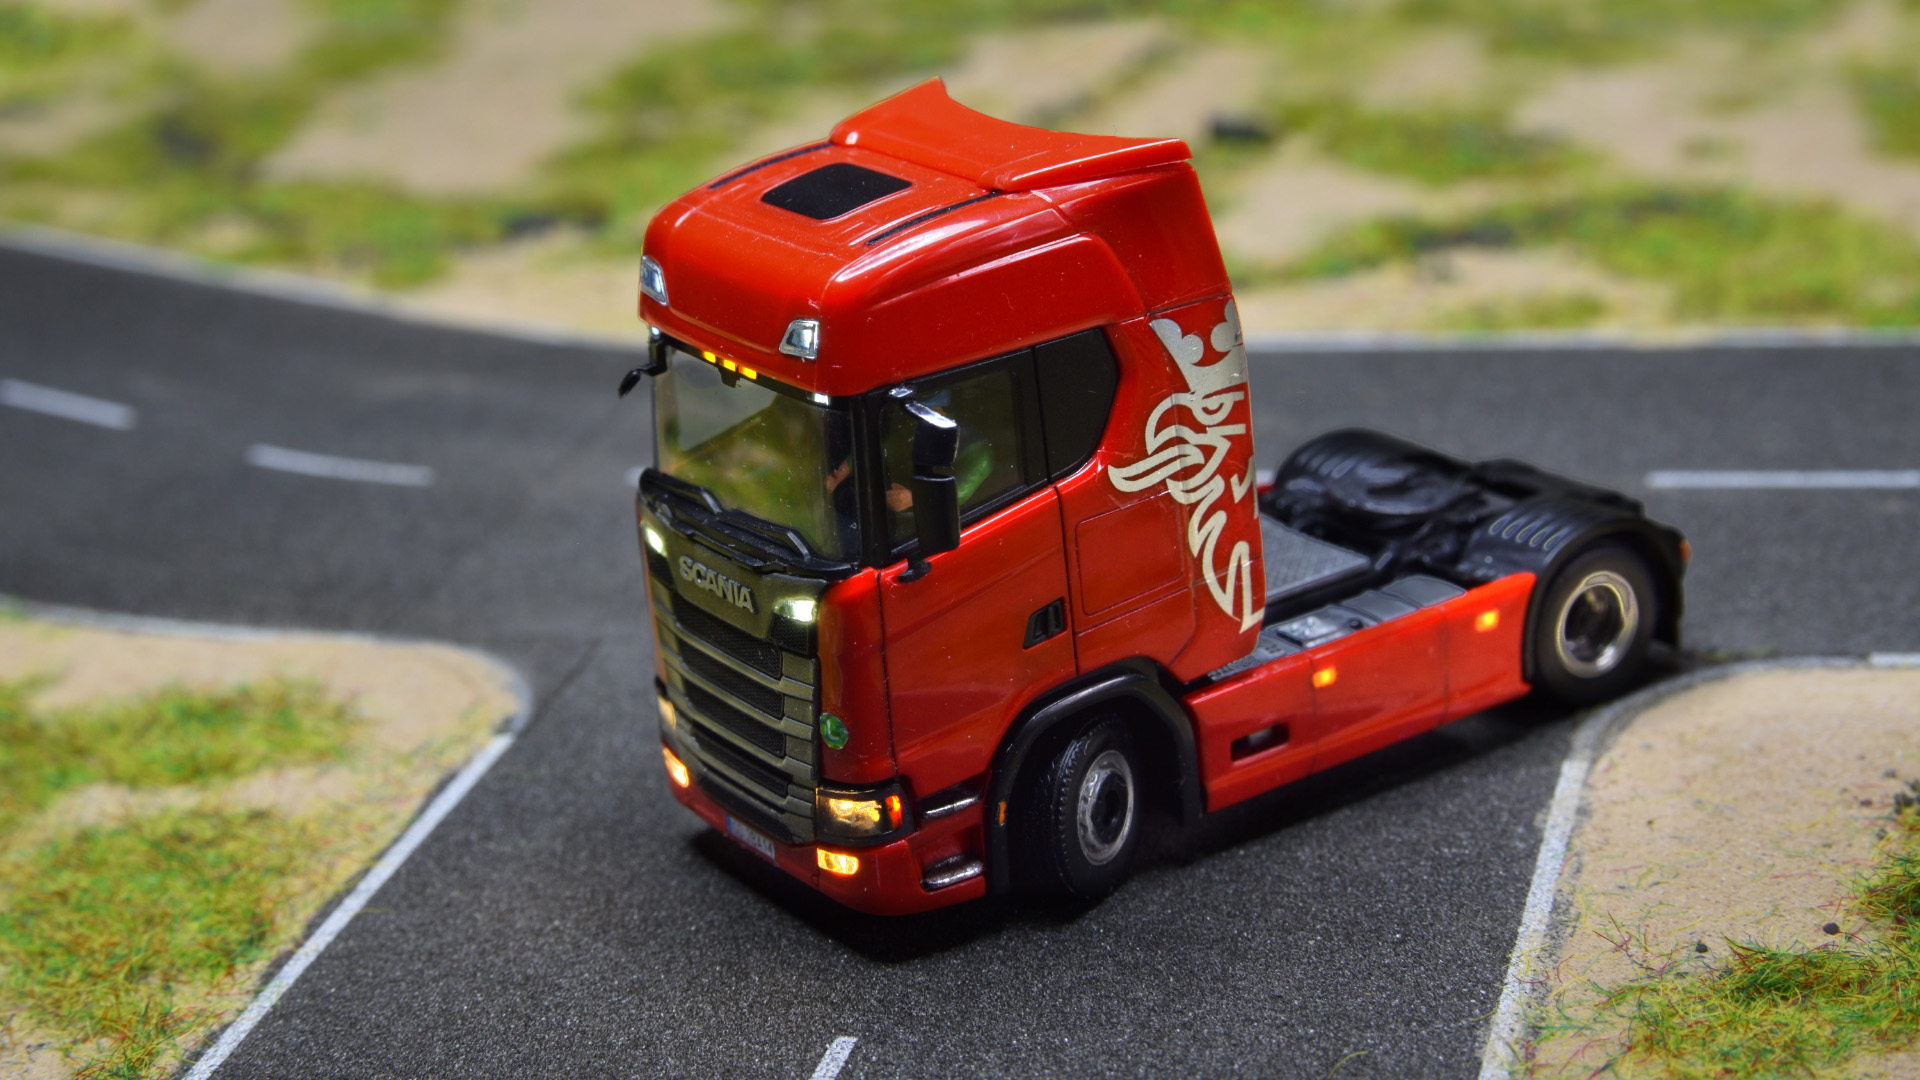
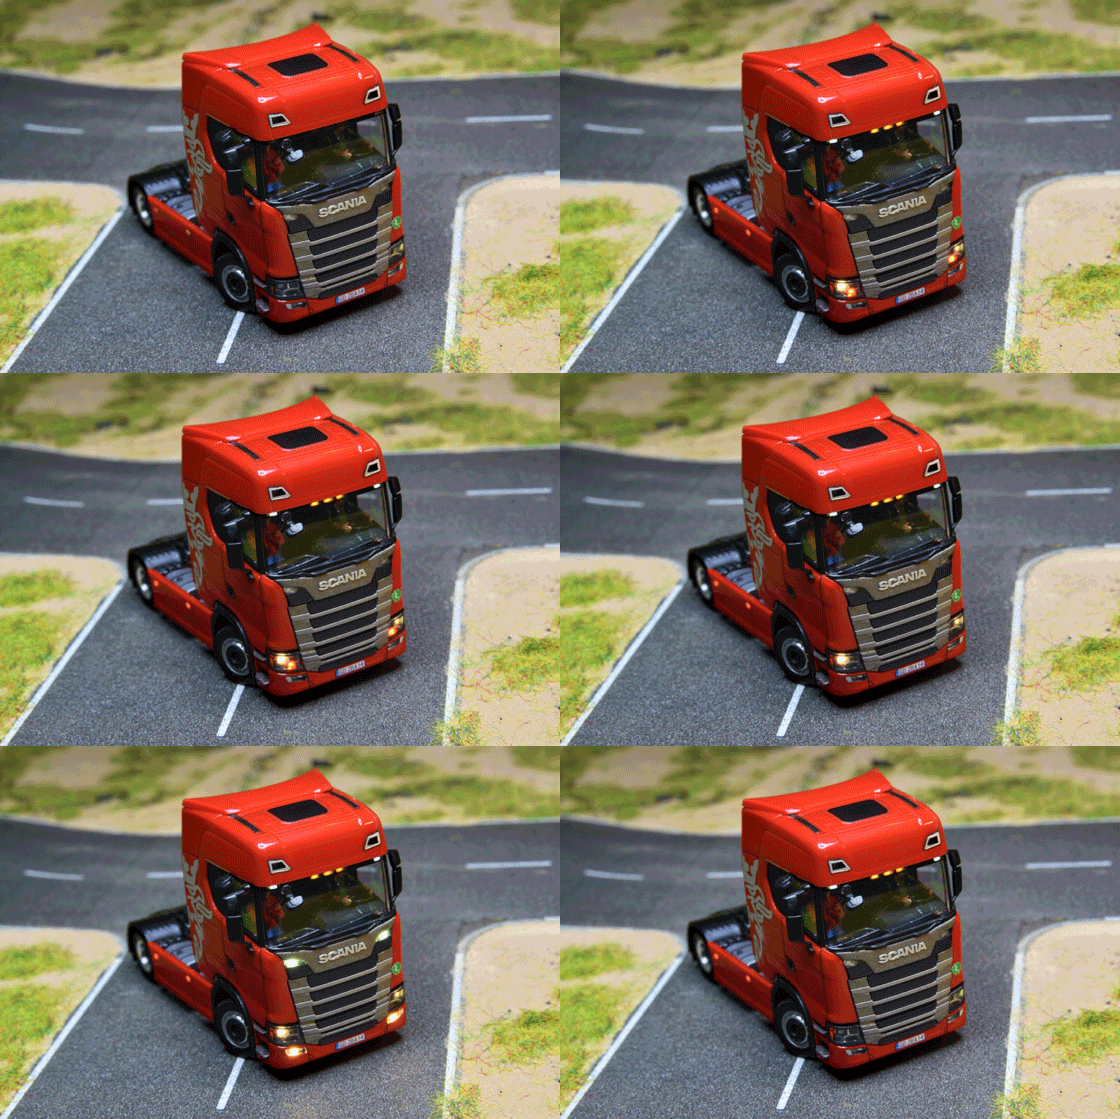
All lights on

That’s an awesome conversion! I’m building my first RC conversion, but I’m stuck at the tail lights. The way you build the tail lights is by far the cleanest and prettiest I’ve come across! Can you point out where to find those narrow panels to solder the leds on? Also like your driver and passenger, where did you get these?
Thanks,
These drivers are from Noch, they have few variants available.
And the raster PCB I found on Ebay, it was 8 years ago, so I don’t remember any details now (I guess it was 1.27mm raster board and thin). It wasn’t cheap and not super big, but big enough for all my future conversions 😉